Google Latitude: Check in, gain status, and unlock offers at more places

Last month, we rolled out Google Latitude check-in offers for 60 places around Austin. Today, we’re happy to announce that we’ve teamed up with some great partners to let you unlock check-in offers at thousands of places across the U.S. using Latitude for Android and iPhone. You can learn more at google.com/latitude/checkin.

Checking in lets you share the places that you visit and add context to your Latitude location for friends and family. At the same time, you can keep a history of where you’ve been while gaining status at the places you visit the most. When you gain status at places, they can now reward your loyalty with check-in offers. From discounts to a free snack, check-in offers let places give you an extra reason to keep coming back. Here’s how to get started:

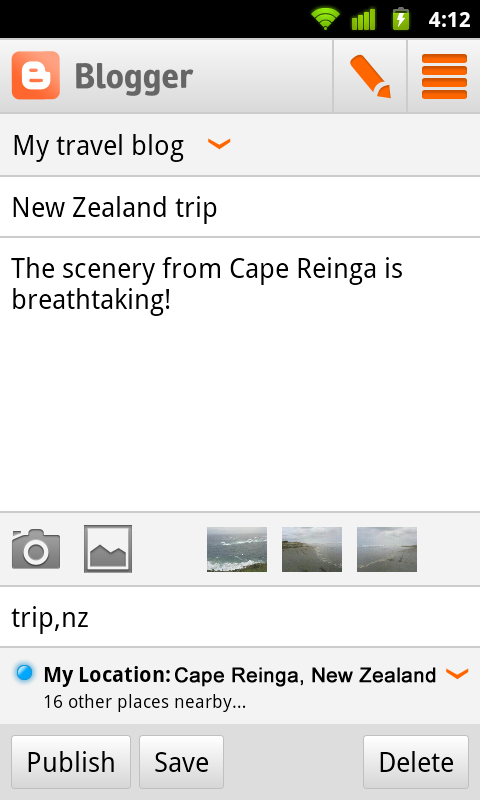
  1. Check in. Check in using Latitude to share places with friends when you’re there.
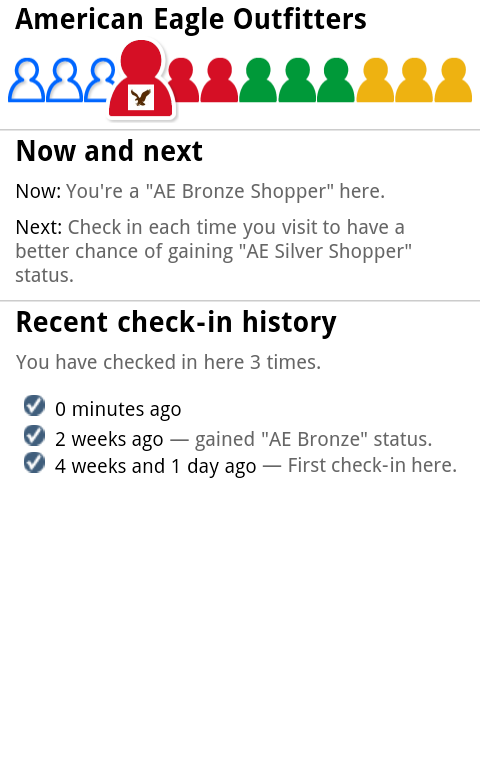
  2. Gain status. Keep checking in every time you visit your favorite places to gain status there. You can tap your current status level to see your progress towards the next status level.
  3. Unlock offers. Places can make check-in offers available to you at each of their 3 status levels. When you gain higher status, you’ll unlock any available check-in offers.
From a Place page, check in, see your current status, and find check-in offers (left); tap your current status to see your progress to the next level (right).

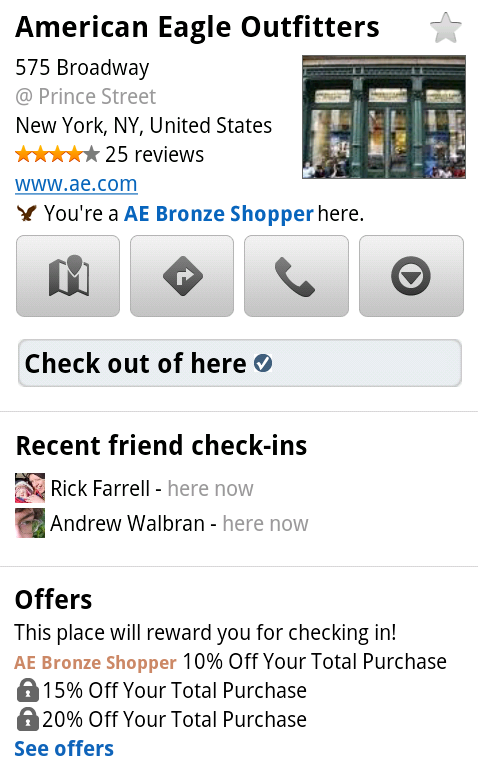
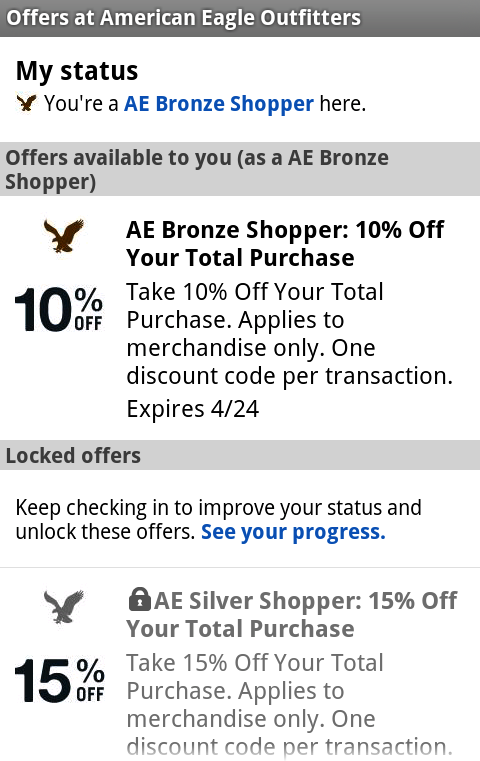
You’ll be able to see both available and locked offers at places. To redeem an available check-in offer, just select it from the Place page, tap Redeem, and show the full offer on your phone.

See available and locked offers (left); tap available ones to redeem them (right).

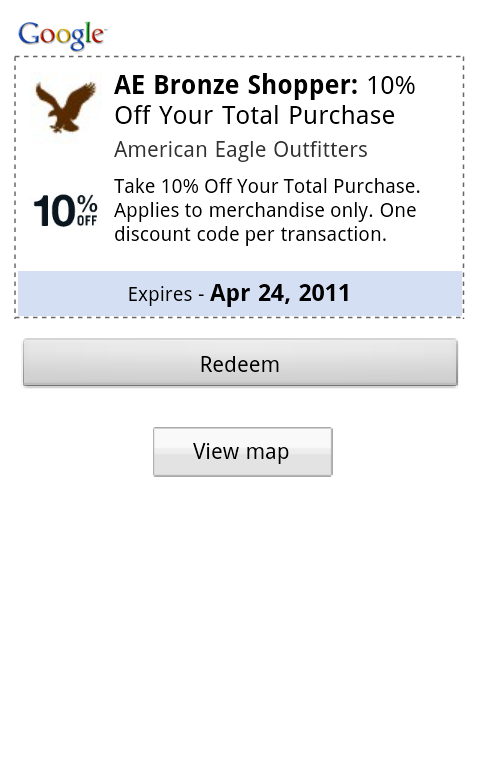
By default, you can become a Regular, VIP, or Guru at places, but we’re also letting partners create their own status levels for you to achieve (coming soon on iPhone). For example, you can become a Champion of Taste at Quiznos or an AE Gold Shopper at American Eagle Outfitters, unlocking their check-in offers at the same time. Take a peek at some of our partners and their check-in offers below or see all of them at google.com/latitude/checkin.

  • American Eagle Outfitters: Up to 20% off your total purchase
  • Quiznos: Free sub when you buy a sub of equal or greater value
  • Arby’s: Free regular roast beef sandwich with purchase of a 22 oz. drink
  • RadioShack: Up to 20% off qualifying, in-store purchases
  • Finish Line: Save $10 on purchases over $50
  • Macy’s (Coming soon)

To start unlocking offers with Latitude, update to the latest version of Google Maps for Android (Latitude is a feature of Maps; requires Android 1.6+) or the Latitude app for iPhone. So start checking in at places when you’re there, and you might just unlock some great offers along the way.

Graphic: How an SMB Solves a Problem in Google Places

As I read of Google’s newly stated public commitment to better customer service in Google Places, thoughts of a myriad of current issues swirled through my head. After mentally struggling through 10 or so current Places problems, the miasma settled around this one issue that I thought I could use to illustrate what an SMB confronts with the current “customer support” system.

The following is an actual example of a how a business affects a solution to the situation of their name triggering the “Term not Allowed” filter in Google Places. Any similarity to these drawings (of Rube Goldberg) is strictly coincidental.

(Click to view your very own printable, full size, Ed Reese Style, infographic of the current process)

While it might have its own uniques twists and turns, this chart is typical of the current methods available to an SMB to solve the dozen or so problems that can crop up in Places. As many of you know some of the solutions are actually more complex. One has to wonder just how many SMBs give up prior to solving their specific difficulty.

Google is staffed with lots of smart people who understand how to solve these types of problems. Usually, I refrain from making suggestions about specific fixes but I just couldn’t resist given that the iron might now be hot.

Here is a second chart that offers a suggested alternative flow that automates a fair bit of the solution. However the SMB might actually come away thinking that Google had provided “good customer service”:

(Click to view full size infographic of proposed process flow)

Related posts:

  1. Google Places – Will Customer Service Decline Further?
  2. Google Places to Rollout Repair Option for Merged Listings
  3. Google Places Moving Help Closer to the Dashboard?

5 tips for using Blogger on your Android phone

Earlier this month, we announced the first version of the Blogger app for Android on the Blogger Buzz blog. Today, we’d like to share some tips on how you can use the Blogger app to quickly publish posts when you’re on the go.

1. Attach photos as you compose
Take photos using your phone’s camera and instantly add them to your post while you draft. You can also insert photos from your phone’s gallery, all within the Blogger app.

2. Include your current location
With your phone’s GPS, you can let your readers know where you’re blogging from by selecting your current location, no additional typing needed.

3. Share to Blogger
Share videos, products, photos, links and other interesting things you would like to include in your blog via the share button that’s available in many apps, including Google Maps for mobile, YouTube, and your web browser. After you share an item to your Blogger, it will be inserted into new post that’s automatically created for you so that start can composing right away.

4. Switch across multiple Blogger accounts
If you’re an author of more than one blog, you can easily switch between your different accounts by tapping on the orange arrow next to the title of your blog. That way, you can publish articles for each of your blogs to keep your all of your readers up to date.
5. Keep track of published posts and saved drafts
See what you’ve composed in an easy to read list by tapping the list icon located on the top right-hand corner.

We hope that you enjoyed these blogging tips. If you haven’t done so already, you can download the free Blogger app for Android 2.1+ devices from Android Market or scan the QR code below. As always, we would love to hear what you think so please feel free to share your thoughts with us through our feedback form.

Happy blogging!