SketchUp: How to Scaling imported raster images in LayOut

If you’ve ever inserted an aerial photo or an old scanned site plan into LayOut, you might have wanted to give it a specific scale on the page. My favorite technique for doing this uses the Clipping Mask feature.

Step 1
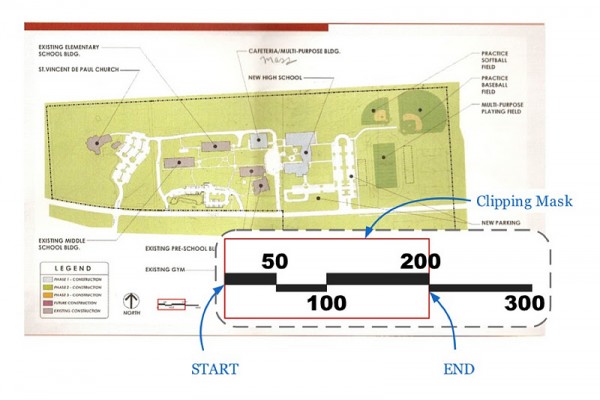
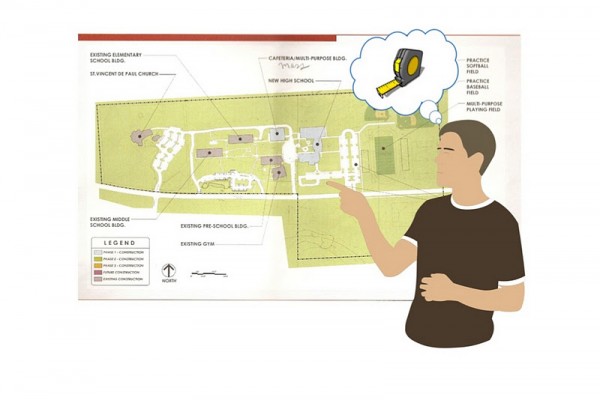
Choose File > Insert… to insert a raster image into your LayOut document. Find a known measurement somewhere on your image. This known measurement can be anything: a scale bar (if you’re lucky); the length of a fence or sidewalk; or even the roofline of a building. It’s important that you find something that’s relatively large and that whose length you already know. You’ll use this portion of the image as a “benchmark” to size the entire image to a specific scale.

In my example, a scale bar was included in my image; this makes it pretty easy to use as a benchmark.


Step 2
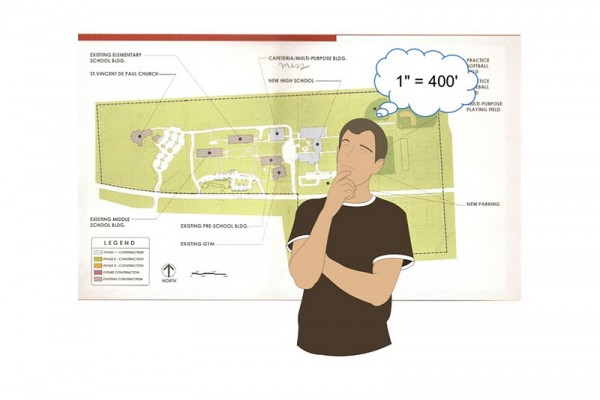
Figure out what scale you’d like to give your inserted image. Keep in mind how the scale will impact the size of the image and how that image will fit on your page.

For this image, I’m going to use 1” = 400’ (1:48) scale. This should fit nicely on an 8.5 x 11 sheet of paper.


Step 3
Create a rectangle around the “benchmark” portion of your image. Use the Rectangle tool to do this, and make sure it has no fill (so that you can see through it.)

This scale bar only goes to 300’, so I’m going to use the 0’ – 200’ as my benchmark. 200 is half of 400, which makes the mental math easier to do.


Step 4
Select both your rectangle and your image and choose Edit > Create Clipping Mask. Select the resulting crop and give it a visible stroke so you can see its boundary.

I color the clipping mask to make its border easier to see.


Step 5
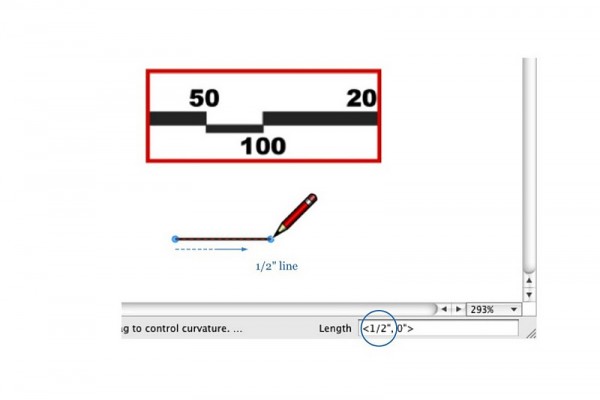
Somewhere on your page, use the Line tool to draw a line whose length corresponds to the scale of the image you’re working on.

To draw a line, click to start drawing, move your cursor in the direction you want the line to go, type the length you want and hit Enter.

Since I want a scale of 1” = 400’, and my “benchmark” is 200’ feet long, I draw a horizontal line which is one-half inch long (1 inch divided by 2).


Step 6
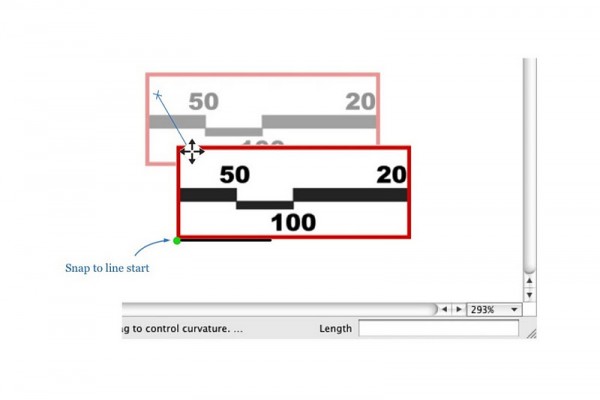
Move your benchmark, snapping its lower-left corner to the left endpoint of your line. Be sure that Object Snap (Arrange > Object Snap) is turned on, or snapping won’t work properly.

I snap my benchmark to the left endpoint of my line.


Step 7
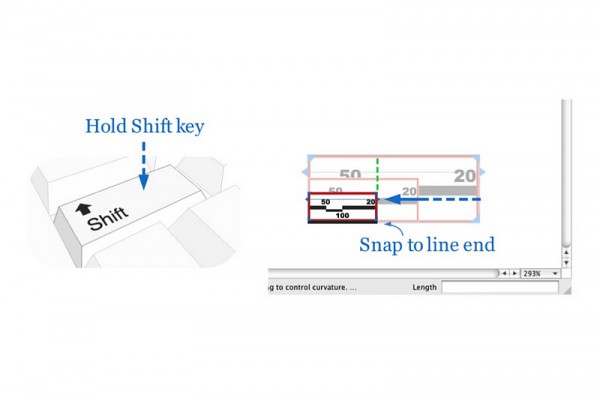
Scale your benchmark so that it’s the same length as the line. With your benchmark selected, hold down the Shift key and scale it until it snaps to the right endpoint of your line. As long as you hold down Shift, your selection should scale proportionately.

I scale my benchmark to the right until it aligns and snaps to the end of my line.


Step 8
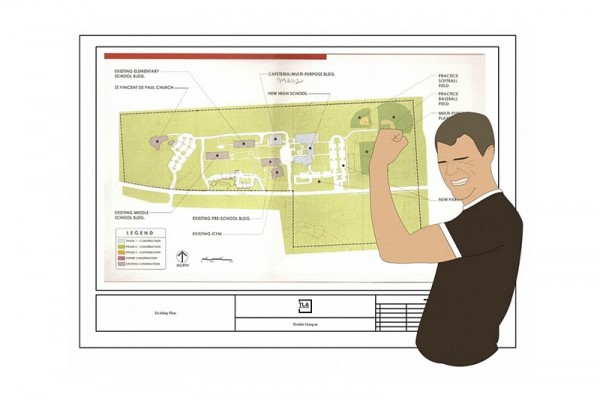
Select the benchmark and choose Edit > Release Clipping Mask. Delete the rectangle from Step 3, and the line you drew in Step 5, and you’re done. Voilà! You’ve set your image to a specific scale.

Image set at 1” = 400’ (1:48) scale and positioned on a letter-sized landscape sheet.


This may seem like a lot of steps but it’s actually pretty simple. Have a look at the following silent movie to see how it’s done.

sketchupdate.blogspot.com
New Organic modeling with the Artisan plugin

SketchUp plugin wizard Dale Martens (a.k.a. Whaat) recently released an amazing and incredibly useful organic modeling toolset called Artisan. Based on Dale’s popular Subdivide & Smooth tools, Artisan is perfect for people who want to use SketchUp to model organic shapes and terrain features. Artisan includes a set of “deformation” tools that allow you to sculpt, smooth, flatten, pinch and apply textures just like you would with a brush.

The toolbar for Dale Martens’ Artisan Organic Toolset for SketchUp
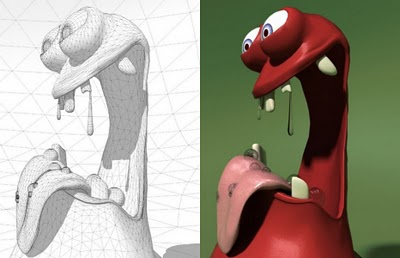
Eric Lay modeled Patrick Beaulieu’s “Bobby Bubble” character, then rendered him (her?) with Twilight Render.
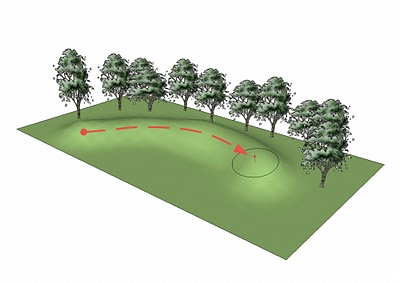
Use Artisan’s Sculpt tools to “paint” 3D deformation onto surfaces.

You can add or reduce polygon complexity in your model, allowing for more or less detail. There’s also a suite of vertex tools that you can use to model based on controlling vertex points. Oh—and did I mention that it’s a ton of fun to use? Have a look at some of the features yourself…

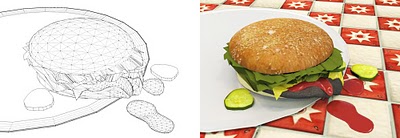
As anyone at the office can tell you, I’m no artist or designer, but I thought I would give the Artisan tool a try over the weekend. Below is something that I whipped up; not too shabby for an hour’s worth of work.

I modeled this hamburger. Er, yum?

If slimy, unappetizing hamburgers aren’t your thing, no worries. It’s not a stretch to see how the Artisan tools might be applied to a whole range of different markets and use cases: character design, product design, environmental design, construction, civil engineering, architecture and, of course, landscape architecture.

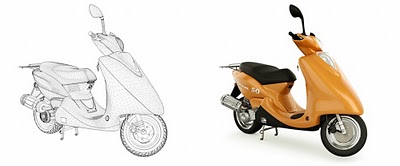
Peter Stoppel modeled this scooter.
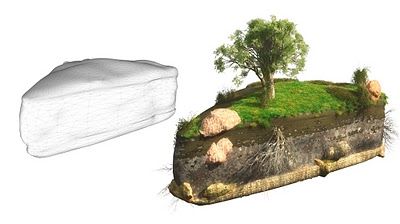
Peter also modeled this wedge of landscape.
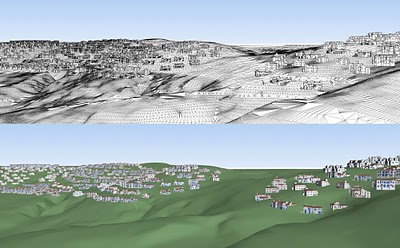
Artisan is also incredibly useful for freeform terrain modeling. This model is by Daniel Tal.

For more information and video tutorials on the Artisan Organic Toolset for SketchUp, check out this website. You’ll also find a great writeup on the Artisan tools in SketchUcation’s February issue of the CatchUp news magazine.

Thank you to Dale for building this great plugin, and special thanks to Eric Lay (a.k.a. Boofredlay), Peter Stoppel (a.k.a. Solo) and Daniel Tal for your great graphics.

Stunning animations about landscape architecture

The American Society of Landscape Architects has produced a number of beautiful and educational animations collectively called Designing Our Future: Sustainable Landscapes. Even better, ASLA asked our good friend Daniel Tal to write, narrate and produce them with SketchUp. You probably know Dan as a bestselling SketchUp author; it turns out he’s a pretty phenomenal video guy, too. Here’s one of them:

Here’s how ASLA describes the raison d’etre for this project:

These animations and their supporting materials are meant to help the public get a sense of both sustainable landscape design and the type of work that landscape architects do. Each animation has a companion guide to sustainability education resources. Designed specifically for students from kindergarten to 12th grade, the resources include curricula, games, activity guides, and videos to help classrooms explore these ideas in greater depth. All these resources are at your disposal when you are discussing the profession in your communities.

Congratulations to ASLA, Daniel Tal and the National Endowment for the Arts (who provided some of the funding for this undertaking) on their commitment to educating people about the impact that design—both good and bad—can have on their everyday lives. I’ve always believed that the best way to promote good design is to make the tools more accessible. Affordable tools that are easier to learn encourage more people to participate in the process. Participation inevitably leads to understanding, which I think is the key to making better decisions about design.

As both a designer and an educator, I encourage you to watch the rest of these animations and to share them with wild abandon. You’ll be doing the world a favor.