Maxwell Render for SketchUp

In November, our friends at Next Limit Technologies announced the release of the Maxwell for Google SketchUp plugin, a dedicated photo-renderer that operates entirely inside of SketchUp. Soon after, they issued a challenge to see who could make the juiciest render using either the free or licensed version of the plugin. The winners of this first Maxwell for SketchUp render competition were announced this week, and they are, in a word, delicious. See for yourself.

Licensed Category:

1st place: Brodie Geers

2nd place: Karlis Musts

3rd place: Francois Verhoeven

4th place: Michael Loper

5th place: Gui Talarico

Voted #1 on social networks: Paulo Avelar

Free Category:

1st place: Arcen Dockx

2nd place: Iwan Widjaja

3rd place: Satrio Hadi

4th place: Saul Giron

5th place: Pandu Pebruanto

Voted #1 on social networks: Daniel Currea

New Organic modeling with the Artisan plugin

SketchUp plugin wizard Dale Martens (a.k.a. Whaat) recently released an amazing and incredibly useful organic modeling toolset called Artisan. Based on Dale’s popular Subdivide & Smooth tools, Artisan is perfect for people who want to use SketchUp to model organic shapes and terrain features. Artisan includes a set of “deformation” tools that allow you to sculpt, smooth, flatten, pinch and apply textures just like you would with a brush.

The toolbar for Dale Martens’ Artisan Organic Toolset for SketchUp
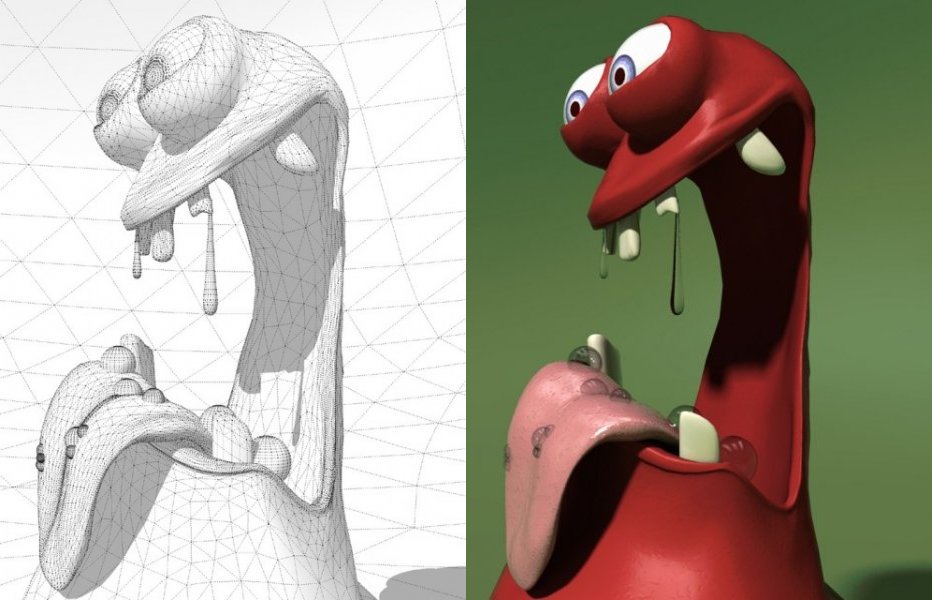
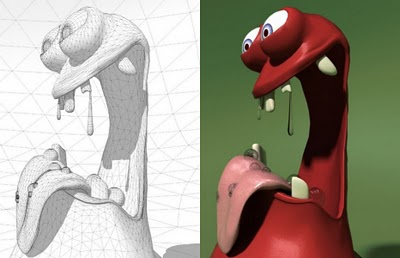
Eric Lay modeled Patrick Beaulieu’s “Bobby Bubble” character, then rendered him (her?) with Twilight Render.
Use Artisan’s Sculpt tools to “paint” 3D deformation onto surfaces.

You can add or reduce polygon complexity in your model, allowing for more or less detail. There’s also a suite of vertex tools that you can use to model based on controlling vertex points. Oh—and did I mention that it’s a ton of fun to use? Have a look at some of the features yourself…

As anyone at the office can tell you, I’m no artist or designer, but I thought I would give the Artisan tool a try over the weekend. Below is something that I whipped up; not too shabby for an hour’s worth of work.

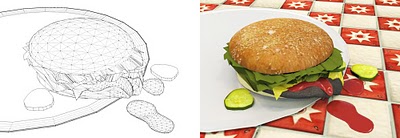
I modeled this hamburger. Er, yum?

If slimy, unappetizing hamburgers aren’t your thing, no worries. It’s not a stretch to see how the Artisan tools might be applied to a whole range of different markets and use cases: character design, product design, environmental design, construction, civil engineering, architecture and, of course, landscape architecture.

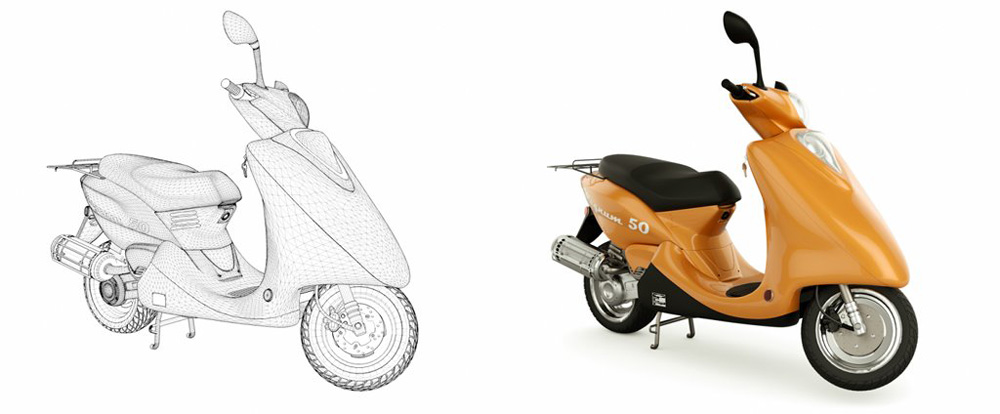
Peter Stoppel modeled this scooter.
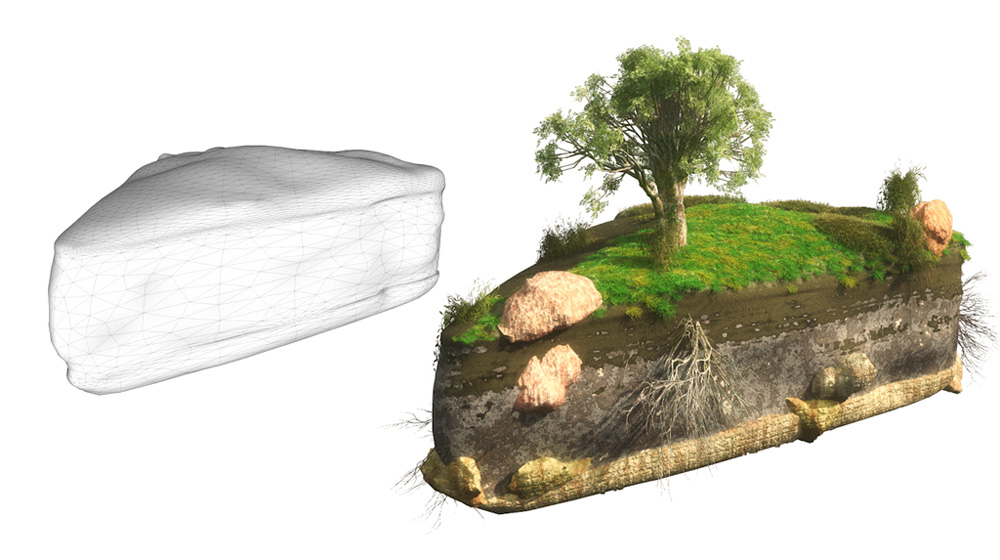
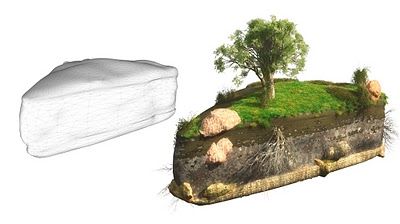
Peter also modeled this wedge of landscape.
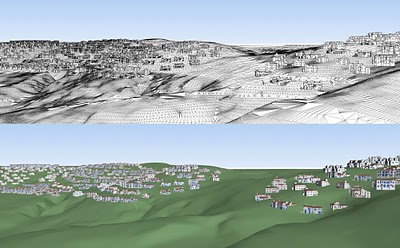
Artisan is also incredibly useful for freeform terrain modeling. This model is by Daniel Tal.

For more information and video tutorials on the Artisan Organic Toolset for SketchUp, check out this website. You’ll also find a great writeup on the Artisan tools in SketchUcation’s February issue of the CatchUp news magazine.

Thank you to Dale for building this great plugin, and special thanks to Eric Lay (a.k.a. Boofredlay), Peter Stoppel (a.k.a. Solo) and Daniel Tal for your great graphics.

Chrome Developer Tools: Back to Basics

It’s been an exciting past few months in the Google Chrome Developer Tools world as we keep adding new features, while polishing up existing ones to respond to your feedback.

One of the areas we have focused a lot of our energy is on network instrumentation. Recently we’ve made many improvements that will hopefully improve your experience when using Chrome Developer Tools. These improvements include:

  • Network aspects of your web page are now inspected in the Network panel. This gives you access to even more information at a single glance. You can sort and clear data, preserve log information upon navigation and even export network data into HAR format.
  • All the timing information about your resource loads now comes from the network stack, not WebKit, so timing information now adequately represents raw network timing. You can see detailed timing for different phases of the loading by hovering over the log entry.

  • We now push raw HTTP headers and status messages into Chrome Developer Tools. As a result, you now see precisely what the browser received from the server and not just how the rendering engine interpreted that information.
  • Similarly to the old Resources panel, you can see syntax-highlighted resource contents.

We’ve also made CSS editing a whole lot easier. In particular, you’ll now find separate fields for property names and values instead of a single field for both. As you type, you will see suggestions of available keywords for property values.


But that’s only the tip of the iceberg. Similar to the changes in the network panel, the CSS sidebar now shows the raw information that the browser gets from the server – not the rendering engine’s interpretation of the information. As a result, you can use Chrome Developer Tools to see CSS properties that are not recognized by WebKit (e.g., engine-specific or simply erroneous properties). This finally puts an end to the nightmare of disappearing invalid properties.


For a more complete reference on working with the Chrome Developer Tools, check out our new home page. The CSS improvements that we implemented upstream in WebKit are further described in our WebKit blog post. And for even more tips on how to use Chrome Developer Tools, watch the new video below.