SketchUp Videos

Our Official Training Videos have been responsible for teaching literally millions of people to use SketchUp. Concepts of SketchUp, the first video in the old series, has been viewed over 7 million times. Collectively, people have spent something like 40 years watching that video. That’s a lot of popcorn.

As popular as they were, our old videos were getting a little long in the tooth; they showed SketchUp 6. We decided that they should be remade, so we locked Tyson in a closet with a computer and a pile of army rations. It worked—our new training videos are not only current, they’re gorgeous. With Tyson’s scripts and visuals (and Alex’s melodious narration), getting started with SketchUp has never been easier. Here they are, in order:

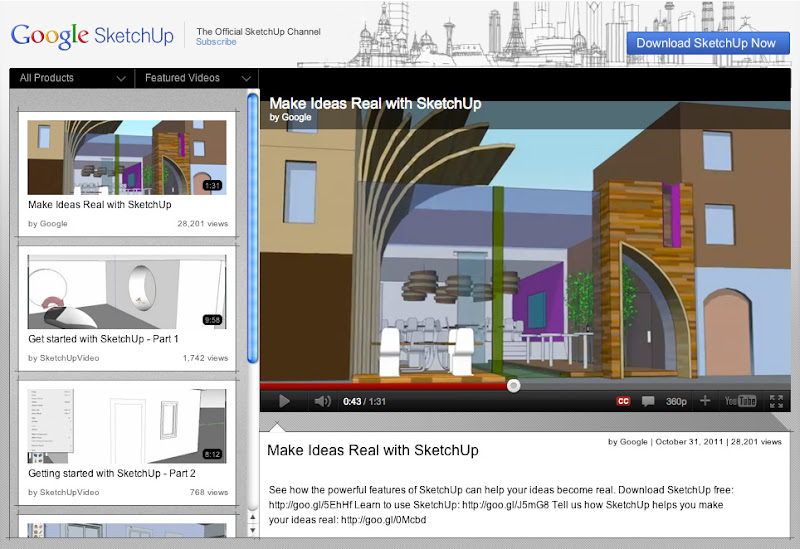
One more thing: We didn’t stop at the videos. We gave the whole SketchUpVideo YouTube Channel a facelift. With helpful navigation menus in the upper-left corner, a new masthead and a big, blue Download button right at the top, SketchUp’s home on the world’s biggest video sharing site is now a whole lot lovelier. Pop on over when you get a chance.

SketchUp: A better view of small spaces

When you’re modeling a small room, it can be a pain to see what’s inside. The problem is that the walls and ceiling get in the way. One solution is to lop off the ceiling and work in a top view, dollhouse-style. Other folks set up scenes from the interior corners and adjust their Field of View to something super-wide like 90 degrees.

Looking at a small interior space from the outside isn’t very rewarding. 

Deleting the ceiling and switching to a top view is useful, but fiddly. 

Standing in the corner and making your Field of View really wide is just weird. What are you—a housefly?


Both of the above techniques work—to a point. Personally, I think it’s like trying to read a book through a keyhole. By far my favorite method for working on small interiors is to make use of SketchUp’s ability to have faces with different materials on each side:

The face separating Susan and Sang is yellow on one side and green on the other. 

Creating a completely transparent material and painting the green side makes it see-through. 

The Entity Info dialog box shows that the selected face is yellow on the front and see-through on the back.


By painting the outward-facing surfaces with a see-through material—one whose opacity is set to 0%—I can see in from the outside. Super useful, super simple.

Here, I painted all of the outward-facing surfaces with a transparent material. Notice that the interior surfaces still look opaque? 

Orbiting around my model, I can see through all of the walls. I can even see through the floor.

Conceptual design for land development

Back in architecture school, I once had to lay out a parking lot for a building I was designing. What a terrible, terrible exercise in nitpicky details and perpetual re-arrangement. The solution I came up with accommodated all of four Smart cars and a unicycle. Awful. If only I’d had access to a tool like SITEOPS from BLUERIDGE Analytics.

SITEOPS is conceptual land development software for folks like architects, civil engineers, landscape architects and land developers. After you’ve brought in a site, you can combine building footprints with critical elements like parking, islands and driveways. These elements are parametric, meaning that they re-draw themselves on the fly as you change aspects of your conceptual design. SITEOPS even provides budget tools for estimating the cost of a project.

Want to see what a parking layout might look like if your building were on the other side of the site? As you slide it over, the parking lot automatically reconfigures to maintain the proper number of spaces. Too cool. This short video shows SITEOPS it in action:

Realizing that lots of their users are also SketchUp devotees, the good people at BLUERIDGE have added an Export to SketchUp button to their product. It lets you figure out the complicated stuff in SITEOPS, then visualize your project in SketchUp. It’s available to SITEOPS customers who have also purchased the Grading and Piping Module. These pictures tell the story better than words can:

This is a view of a 2D site layout in SITEOPS.


A 3D image of the same site in SITEOPS’ Grading and Piping Module.


The site after it’s been exported to SketchUp. The model includes all of the 3D topographical information from SITEOPS.