Our March and April 2011 SketchUp Authorized Training Center schedule is now available. The map below contains information on specific locations, dates, and courses provided:
View March/April 2011 Training Schedule in a larger map
Our March and April 2011 SketchUp Authorized Training Center schedule is now available. The map below contains information on specific locations, dates, and courses provided:
View March/April 2011 Training Schedule in a larger map
Earlier today, we announced a maintenance release for Google SketchUp 8 (free and Pro) that is a free upgrade for all SketchUp 8 users. One of the bugs we’ve fixed is the oldest and thorniest in our bug tracker. Most folks call it the “Shadow Bug.”
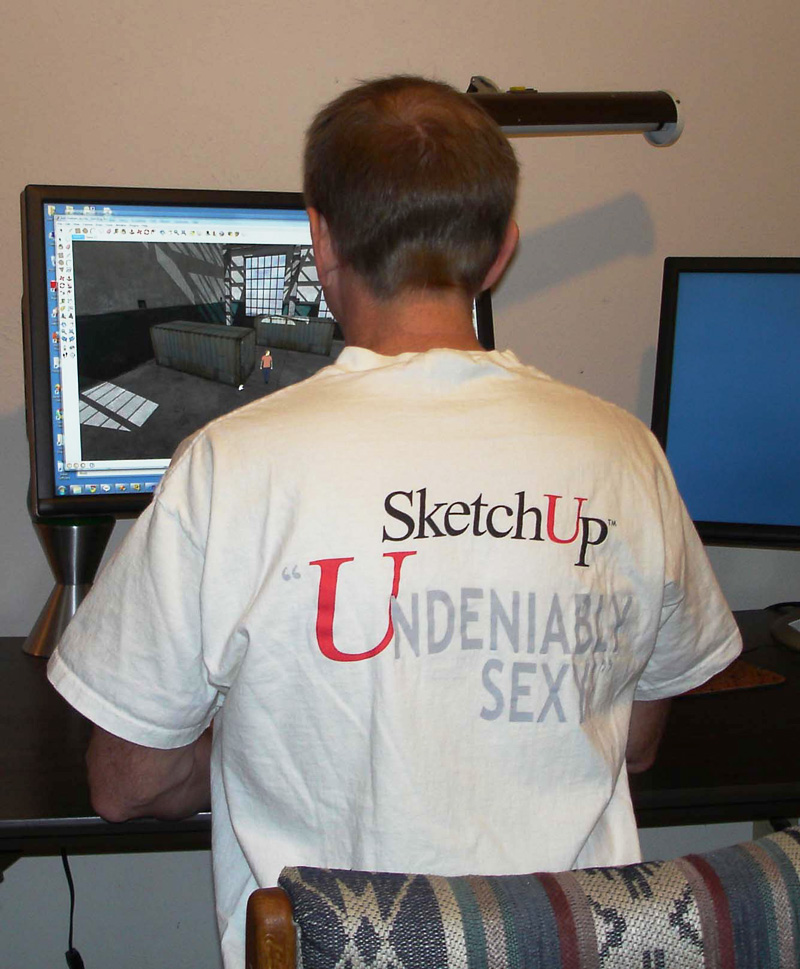
Let’s roll back the clock a little bit before I explain the fix. In the spring of 2001, we introduced real-time volumetric shadow rendering in SketchUp 1.1. At the time, only video games were really doing this sort of rendering, and it was pretty exciting to see shadows cast from a model that you made yourself. When I got my first demo, I declared them to be the most “Undeniably Sexy” thing that I had seen all week. It was shortly after that that I left my day job to join @Last Software – SketchUp was clearly something that I had to be a part of.
Awesome though shadows were in most cases, there was a fatal flaw. When the camera passed inside a shadow volume, there were places where the rendering algorithm just plain fell flat on its face – leading to flashy, jagged and just plain wrong-looking shadows from some points of view. Unfortunately, there wasn’t any obvious way around that problem.
In the SketchUp 3 and 4 release cycles (launched in July of 2004), we worked on this problem some more and found a new algorithm that looked promising. Unfortunately, we found that this algorithm, while usually better when the camera was inside the shadow volume, failed even more spectacularly than our original algorithm in other common uses. Admitting temporary defeat, we pulled the new algorithm out and went back to the drawing board again.
As I’ve often said when asked about “the shadow bug”, the only way we’d be able to fix it is if we came up with a clever new algorithm. As luck will have it, one of our engineers (the same guy who implemented the original shadow rendering ten years ago) never quite gave up on the problem. And a few weeks ago, he figured out a new solution. Just like that. I’m proud to say we’ve (finally) fixed shadow rendering for all those cases where the camera was inside the shadow volume and included it as a part of today’s maintenance release. Need a visual? Here’s a video that shows the our new and improved shadow rendering at work:
There’s lots of other good bug fixes in M1, and it is both free and recommended for all users. Here’s how to make sure you have the latest version of SketchUp 8:
Windows: Choose Help > Check for Update
Mac: Choose SketchUp > Check Web for Update
The first time I saw Augmented Reality in action, I wondered if I’d accidentally fallen through a wormhole on the way to work; it’s the kind of thing you’d expect to see on Boba Fett’s BlackBerry. AR is downright futuristic.
In the 3D modeling sense, AR involves combining a live video stream with a 3D model to create the illusion that the model is a physical object in the real world. All you need is a webcam (the ones that are built in to many laptops work just fine), a 3D model (SketchUp takes care of that), a printed-out paper “target” and a piece of AR software that can put everything together. This video shows AR in action:
And here’s an illustration that shows the setup:
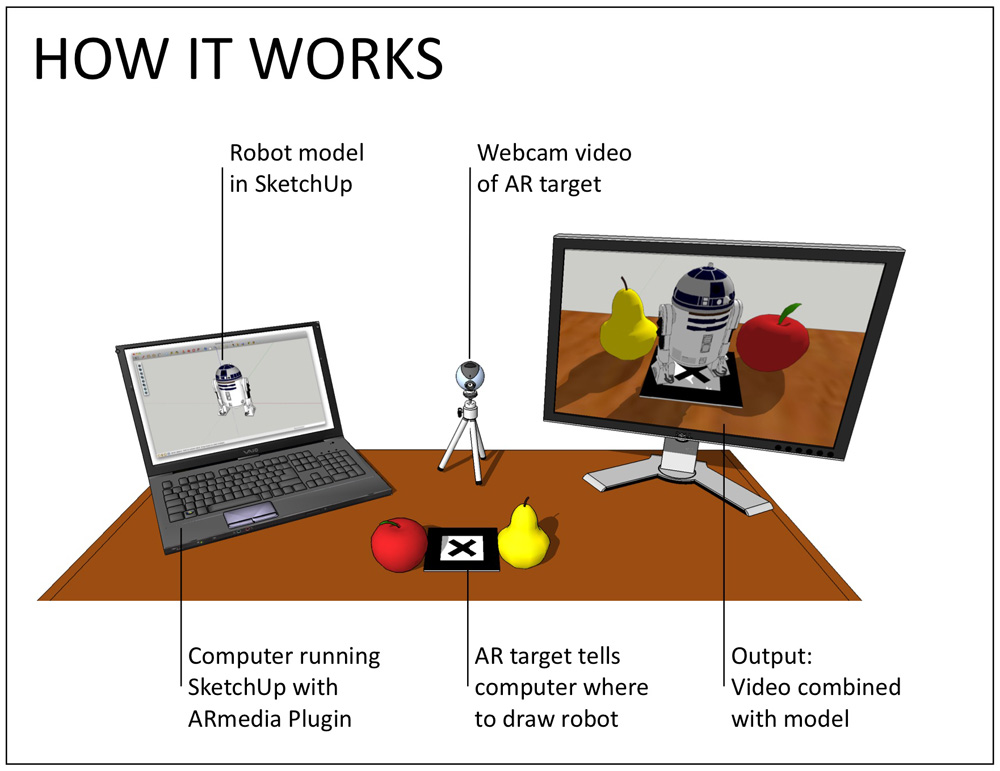 A simple Augmented Reality setup for SketchUp, using an external monitor to show the video output.
Thanks to an Italian outfit called Inglobe Technologies, SketchUp users have been able to ride the AR wave for a while now. They’ve just released version 2 of their AR-media Plugin for Google SketchUp. Three great things about this shiny, happy piece of tech:
Start out by grabbing the Quick Start Guide; you’ll find the relevant links about halfway down the plugin’s webpage. Follow Steps 2 and 3 to download and install the software; the free Personal Learning Edition will let you see how everything works without spending any money. After that, achieve instant gratification (my favorite kind) by skipping ahead to Step 6 in the Quick Start Guide: “Creating your first Augmented Reality Scene”.