Google Places: The contexts in the English language

Bad is a word that is used in many contexts in the English language. It can mean anything from terrible to awesome used by iteslf and there are many phrases that integrate the word for totally different meaning altogether. Bad boy, bad ass and a bad taste to note a few. This is particularly true with hair. A “bad hair day” for example has been elevated to the level of cliche for getting the day off on the wrong foot.

Bad hair salon NY search

Now add to this linguistic mishegas the fact that Google is possibly doing keyword to category mapping.

In this process Google is apparently indexing keywords associated with a citation, mapping those keyword to their appropriate category and if there is enough searcher intent, showing 7-Pack or Blended results on those adhoc keyword related categories.

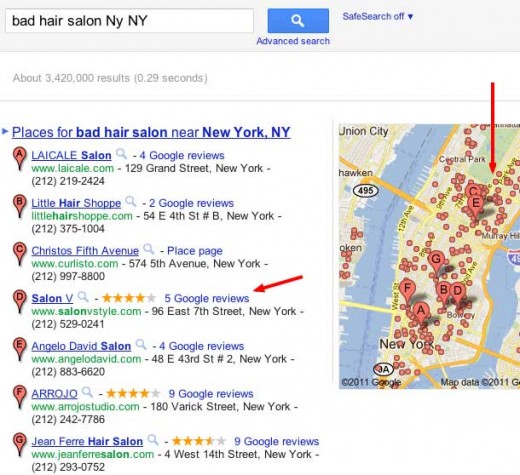
In the hair salon business this combination of linguistic “nuances” and keyword mapping leads to unintended outcomes. If you search on Bad Hair Salon NY, NY, which is unambiguous for most of us, it shows a seven pack and a ton of salons in Manhatten that are “bad”.

In that pack, I chose the first highly rated salon on that search, the Salon V, a 4.5 star rated establishment, to see exactly why it was so “bad”, why it showed in the results….When you further refine the search “Salon V” Bad hair NYC you see the types of ambiguous statements showing in the search results that may have lead to the results:

After 2 “bad hair” days I was ready to give up b. ..

I ended up running back to Salon V to correct a very bad highlight job.  I’ve had my haircut at many places in NYC, LA, and SF, but Salon V is definetly the best. 

THANKYOU CAROLEENA AT SALON V!!!!! So….I’ve had multiple bad hair salon …. A gem in NYC! Hawaii lost one of its treasures when Vernelle moved away a few 

Salon V of Fairfield, CT – Take advantage of the quality services, convenient location  went to Salon V for the first time (after several bad cuts at another salon) and I got a 

The take aways?

Review content, whether via Google’s keyword to category mapping or some other mechanism, can influence search results.

Monitoring search results for these types of negative top ranking search results in your market is probably worthwhile. This certainly opens up new areas for defensive reputation management of your listing and business.
SketchUp: How to Scaling imported raster images in LayOut

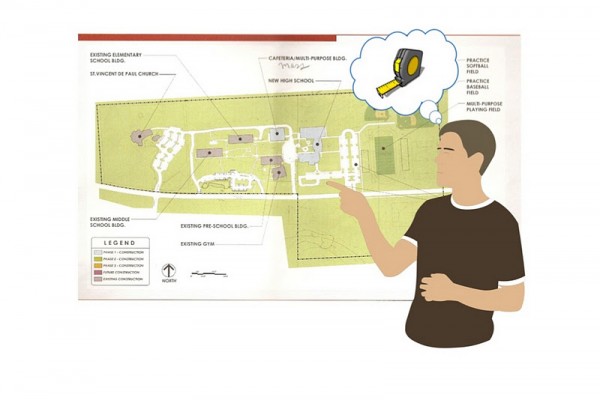
If you’ve ever inserted an aerial photo or an old scanned site plan into LayOut, you might have wanted to give it a specific scale on the page. My favorite technique for doing this uses the Clipping Mask feature.

Step 1
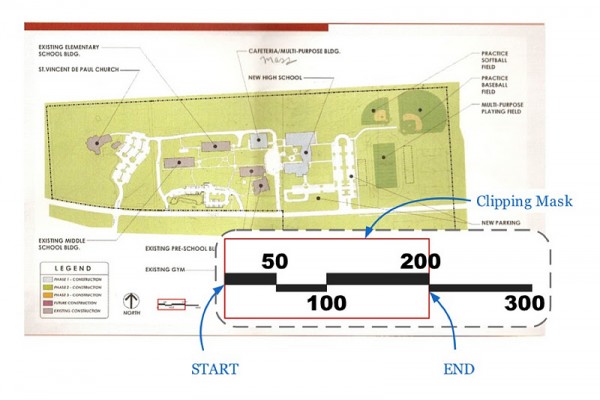
Choose File > Insert… to insert a raster image into your LayOut document. Find a known measurement somewhere on your image. This known measurement can be anything: a scale bar (if you’re lucky); the length of a fence or sidewalk; or even the roofline of a building. It’s important that you find something that’s relatively large and that whose length you already know. You’ll use this portion of the image as a “benchmark” to size the entire image to a specific scale.

In my example, a scale bar was included in my image; this makes it pretty easy to use as a benchmark.


Step 2
Figure out what scale you’d like to give your inserted image. Keep in mind how the scale will impact the size of the image and how that image will fit on your page.

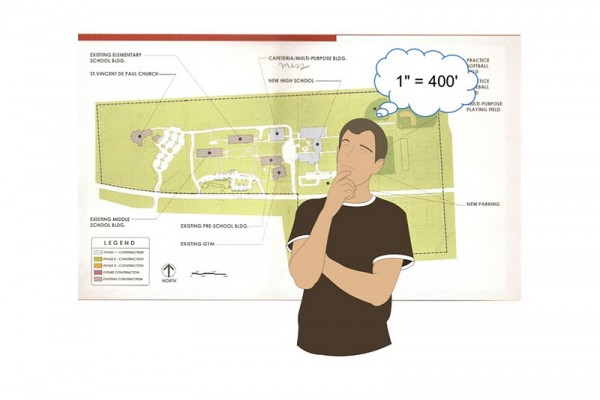
For this image, I’m going to use 1” = 400’ (1:48) scale. This should fit nicely on an 8.5 x 11 sheet of paper.


Step 3
Create a rectangle around the “benchmark” portion of your image. Use the Rectangle tool to do this, and make sure it has no fill (so that you can see through it.)

This scale bar only goes to 300’, so I’m going to use the 0’ – 200’ as my benchmark. 200 is half of 400, which makes the mental math easier to do.


Step 4
Select both your rectangle and your image and choose Edit > Create Clipping Mask. Select the resulting crop and give it a visible stroke so you can see its boundary.

I color the clipping mask to make its border easier to see.


Step 5
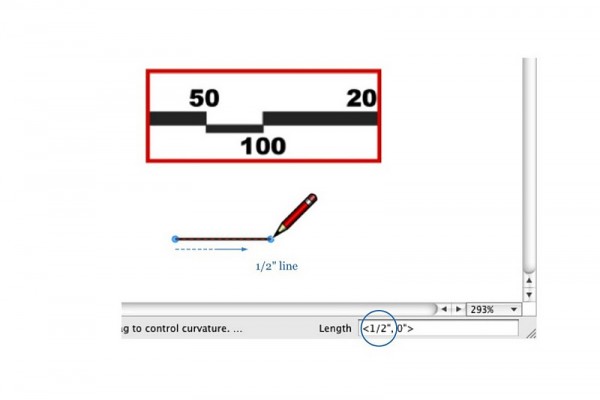
Somewhere on your page, use the Line tool to draw a line whose length corresponds to the scale of the image you’re working on.

To draw a line, click to start drawing, move your cursor in the direction you want the line to go, type the length you want and hit Enter.

Since I want a scale of 1” = 400’, and my “benchmark” is 200’ feet long, I draw a horizontal line which is one-half inch long (1 inch divided by 2).


Step 6
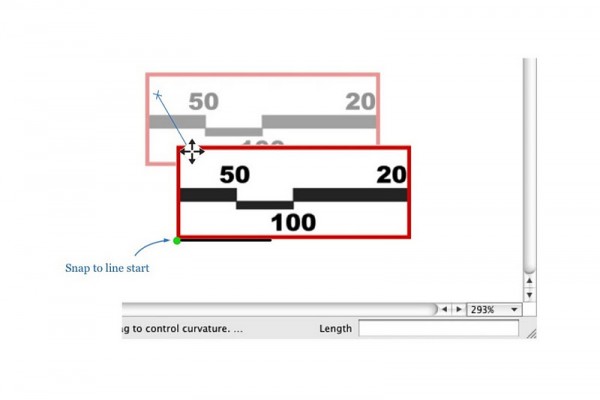
Move your benchmark, snapping its lower-left corner to the left endpoint of your line. Be sure that Object Snap (Arrange > Object Snap) is turned on, or snapping won’t work properly.

I snap my benchmark to the left endpoint of my line.


Step 7
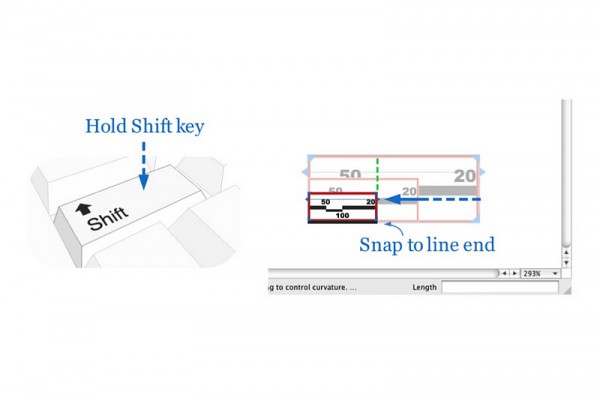
Scale your benchmark so that it’s the same length as the line. With your benchmark selected, hold down the Shift key and scale it until it snaps to the right endpoint of your line. As long as you hold down Shift, your selection should scale proportionately.

I scale my benchmark to the right until it aligns and snaps to the end of my line.


Step 8
Select the benchmark and choose Edit > Release Clipping Mask. Delete the rectangle from Step 3, and the line you drew in Step 5, and you’re done. Voilà! You’ve set your image to a specific scale.

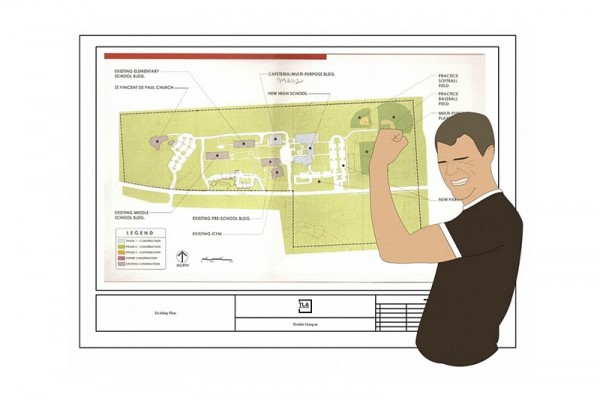
Image set at 1” = 400’ (1:48) scale and positioned on a letter-sized landscape sheet.


This may seem like a lot of steps but it’s actually pretty simple. Have a look at the following silent movie to see how it’s done.

sketchupdate.blogspot.com