App Engine 1.5.2 SDK Released


As the summer heat descends on the Northern Hemisphere we thought we’d release our newest App Engine version with some changes that are sure to keep you playing around in the cool, air-conditioned indoors (hey, you don’t want your computer to overheat, right?).

Production Changes

  • Adjustable Scheduler Parameters – As we previously discussed, we are introducing two scheduler knobs (okay, they actually look like sliders) that will allow you to control some of the parameters that influence how many Instances run your application. Today you will be able to set the minimum pending latency and maximum number of idle instances for your application.

Datastore Changes

  • Advanced Query Planning – We are removing the need for exploding indexes and reducing the custom index requirements for many queries. The SDK will suggest better indexes in several cases and an upcoming article will describe what further optimizations are possible.
  • Namespaced Datastore Stats – Now, in addition to getting overall datastore stats, we are providing a new option to query datastore stats per namespace.

Task Queue Changes

  • New Task Queue details page – We’ve revamped the Task Queue details page in the Administration Console to provide more information about the tasks being run. You can now see the headers included in the enqueued task, the payload, and information from previous task runs.
  • 1MB Pull Task Size – It’s our belief that there is only one way for size limits to go – and that’s up! So with this release we’ve increased the size for pull tasks to 1MB.
  • Pull queue lease modification – We’ve introduced a new method for Pull Queues that allows you to extend the lease on existing tasks if the initial lease on the task was insufficient.

Lastly, we have some exciting news related to the experimental Go runtime. While it still remains experimental, starting with 1.5.2, all HRD apps will have access to the Go runtime in production.

As always, there are also some small features and bug fixes, the full list of which can be found in our release notes (Python, Java). We look forward to your feedback and questions in our forum.
Using ESRI Base Map Tile Layers in Bing Maps

I received an email this morning from the ESRI announcements mailing list stating that “ArcGIS Online basemaps published and hosted by Esri are now freely available to all users regardless of commercial, noncommercial, internal, or external use.”.

This is a nice surprise – it’s always useful to have a greater choice of tile styles on which to build your map, and ESRI have a nice selection of alternative map types. So, I decided to test them out by creating some ESRI tile layers in the Bing Maps Silverlight control.

The basic method of creating a new tilelayer using the Bing Maps Silverlight control is to define a new custom class in your .xaml.cs code file that inherits from the Microsoft.Maps.MapControl.TileSource class. You set the base of this class to represent the URL template of the tiles that will be used to build this layer. Then, by overriding the GetUri() method of this class, you insert the parameters corresponding to the x, y, and zoomlevel of each requested tile image from this tilelayer. For example, the following code demonstrates how to construct a class based on the ESRI topo world map tiles:

public class ESRITileSource : Microsoft.Maps.MapControl.TileSource
{
 public ESRITileSource() : base("http://services.arcgisonline.com/ArcGIS/rest/services/World_Topo_Map/MapServer/tile/{0}/{1}/{2}")
 { }

public override Uri GetUri(int x, int y, int zoomLevel)
 {
 return new Uri(String.Format(this.UriFormat, zoomLevel, y, x));
 }
}

Then, in your .xaml file, hide the default Bing Maps base tiles by specifying the MercatorMode of the map, and create a new tilelayer based on the custom tilelayer class instead:

<m:Map x:Name=”Map1″ Grid.Row=”1″ Grid.Column=”1″ Center=”55,-2″ ZoomLevel=”6″ CredentialsProvider=”{StaticResource MyCredentials}” HorizontalAlignment=”Stretch” VerticalAlignment=”Stretch”>
<!– Do Not Display Bing Maps base layer –>
<m:Map.Mode>
<mcore:MercatorMode></mcore:MercatorMode>
</m:Map.Mode>
<!– Add ESRI Tile Layer –>
<m:Map.Children>
<m:MapTileLayer>
<m:MapTileLayer.TileSources>
<local:ESRITileSource></local:ESRITileSource>
</m:MapTileLayer.TileSources>
</m:MapTileLayer>
</m:Map.Children>
</m:Map>

<m:Map x:Name=”Map1″ Grid.Row=”1″ Grid.Column=”1″ Center=”55,-2″ ZoomLevel=”6″ CredentialsProvider=”{StaticResource MyCredentials}” HorizontalAlignment=”Stretch” VerticalAlignment=”Stretch”> <!– Do Not Display Bing Maps base layer –> <m:Map.Mode> <mcore:MercatorMode></mcore:MercatorMode> </m:Map.Mode> <!– Add ESRI Tile Layer –> <m:Map.Children> <m:MapTileLayer> <m:MapTileLayer.TileSources> <local:ESRITileSource></local:ESRITileSource>

 </m:MapTileLayer.TileSources> </m:MapTileLayer> </m:Map.Children></m:Map>

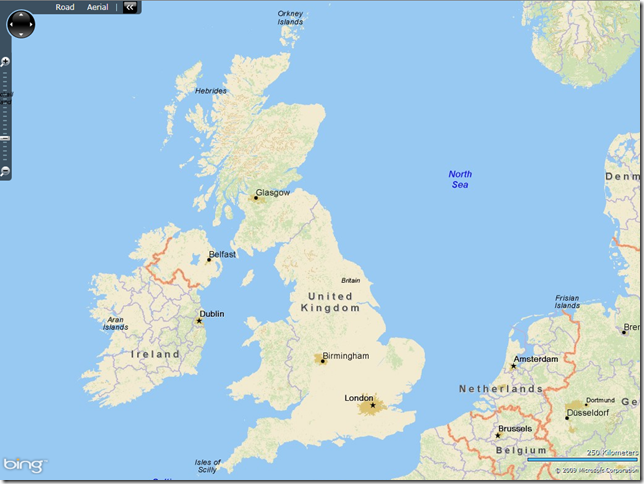
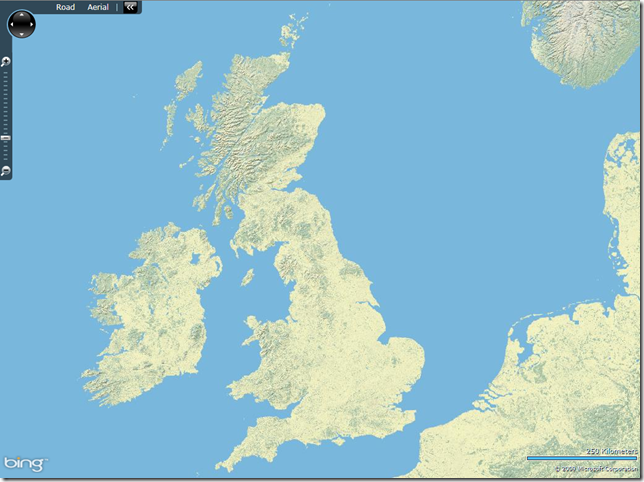
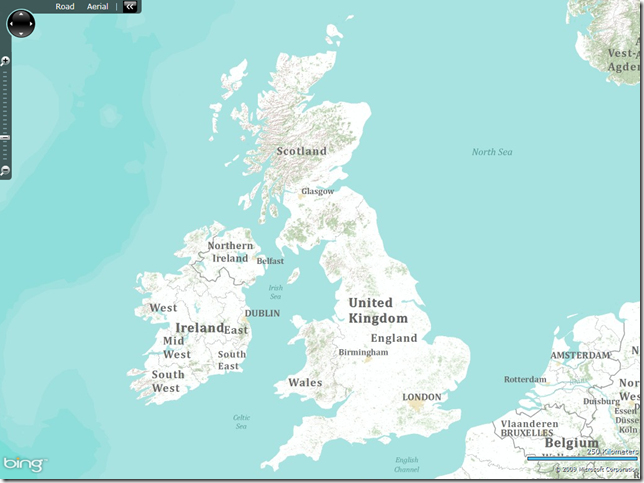
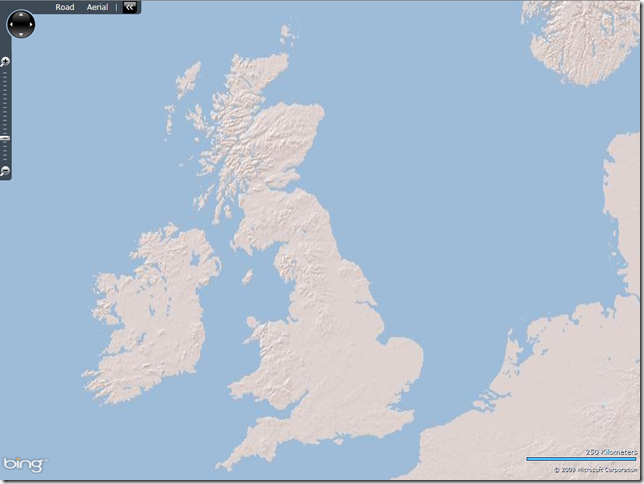
Using this method, I tried out a few of the different ESRI styles, as shown below:

World Topography

URL Template: http://services.arcgisonline.com/ArcGIS/rest/services/World_Topo_Map/MapServer/tile/{0}/{1}/{2}

image

World Shaded Relief

URL Template: http://services.arcgisonline.com/ArcGIS/rest/services/World_Shaded_Relief/MapServer/tile/{0}/{1}/{2}

image

DeLorme World Basemap

URL Template: http://server.arcgisonline.com/ArcGIS/rest/services/Specialty/DeLorme_World_Base_Map/MapServer/tile/{0}/{1}/{2}

image

World Physical Map

URL Template: http://services.arcgisonline.com/ArcGIS/rest/services/World_Physical_Map/MapServer/tile/{0}/{1}/{2}

image

There’s plenty more map styles, including demographic maps (US only), specialist maritime maps etc. – see http://www.esri.com/software/arcgis/arcgisonline/standard-maps.html for more details.

Google Maps Without the Scripting

Posted by Tom Manshreck, Maps API Team

If you’re a regular reader of this blog, you probably already use the Google Maps API and love it as much as we do! But you may find it not useful for certain cases: the Google Maps API requires JavaScript, can take a while to load over slow connections, and requires some overhead to maintain a dynamic website.

The Google Static Maps API provides a simpler way to add maps to your website. Rather than use JavaScript, the Google Static Maps API creates map images on the fly via simple requests to the Static Maps service with HTTP requests. No JavaScript, no overhead. Just create a special URL as the src attribute within an tag and let the Static Maps service create your image.

To see how easy the Static Maps API is to use, note the image below:

This image was created using the following simple tag:


(Note that you will need to replace the key parameter above with your own Maps API key. You can obtain a free key at http://code.google.com/apis/maps/signup.html)

When this blog post was displayed in your browser, the URL in the tag was sent to the Static Maps service, which constructed an image based on the parameters passed in that URL. Voila! You can create maps up to 512 x 512 pixels, and at any zoom level or location on the face of the earth that Google Maps supports. You can even place markers on your map images! This Static Maps Wizard lets you play around with some of the options.

The Static Maps API is especially useful for pages in which you want a map to load quickly. You can even replace the generated Static Map with a JavaScript Maps API map after the page loads, allowing a seamless transition from a quick-loading map to a fully dynamic implementation.

Because the map generated by the Static Maps API is an image, you can also send it to your friends as an email attachment (especially handy for planning your next party!) or display it on any cell phone browser, whether or not it supports JavaScript.

Full documentation on constructing maps with the Static Maps API is available at:

http://code.google.com/apis/maps/documentation/staticmaps/index.html

As always, please post questions in the Maps API forum.