What do Elvis’ Graceland and Iran’s Marmar Palace have in common? Both estates have been updated with new imagery in Google Earth and Google Maps!
Over the last few weeks, the imagery team has updated hundreds of images. To give you a taste of this new data, today we’ll look at several interesting features that have been updated with new imagery from across the globe.
First, I’d like to look at a fantastic and majestic terrestrial landform known as the star dune. Star dunes form pyramidal shapes that grow upward and are characterized by multiple radiating dune crests. Shown below is a perspective satellite image of a star dune field within the Badain Jaran Desert of China. The desert contains Earth’s tallest stationary dunes, reaching heights of 500 meters!
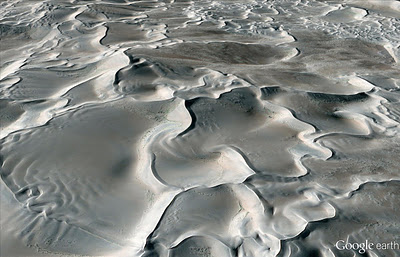
Perspective view of star dunes of Badain Jaran Desert, China
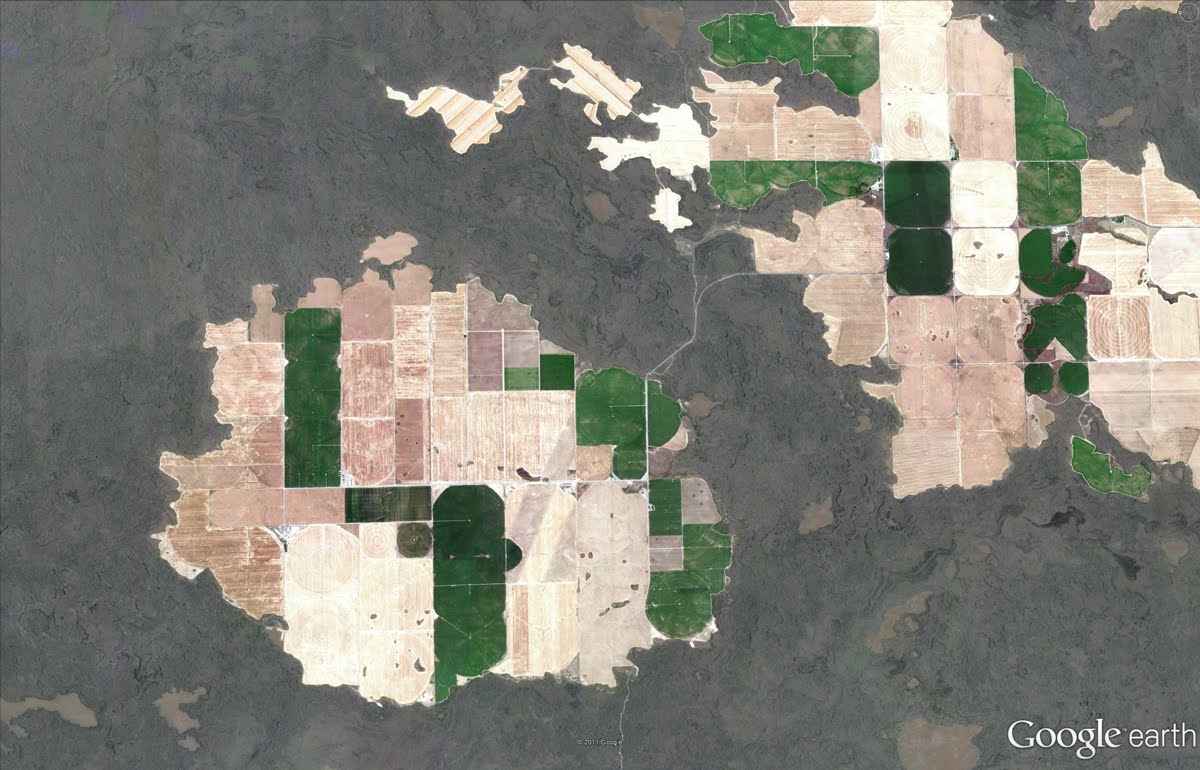
One of my favorite hobbies is scrambling around volcanic sites throughout the western United States, and many of my favorite areas are located in Idaho’s Snake River Plain. Within this river plain, one of the youngest volcanic flow features of the region comprises the Hell’s Half Acre lava flow field. In the aerial image below, taken this past September, you can see “windows” of older river bed material (now farmland) that were not buried during lava flow emplacement.
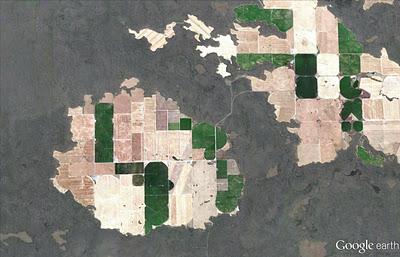
Farmland enclosed by lava flow, Snake River Plain, Idaho
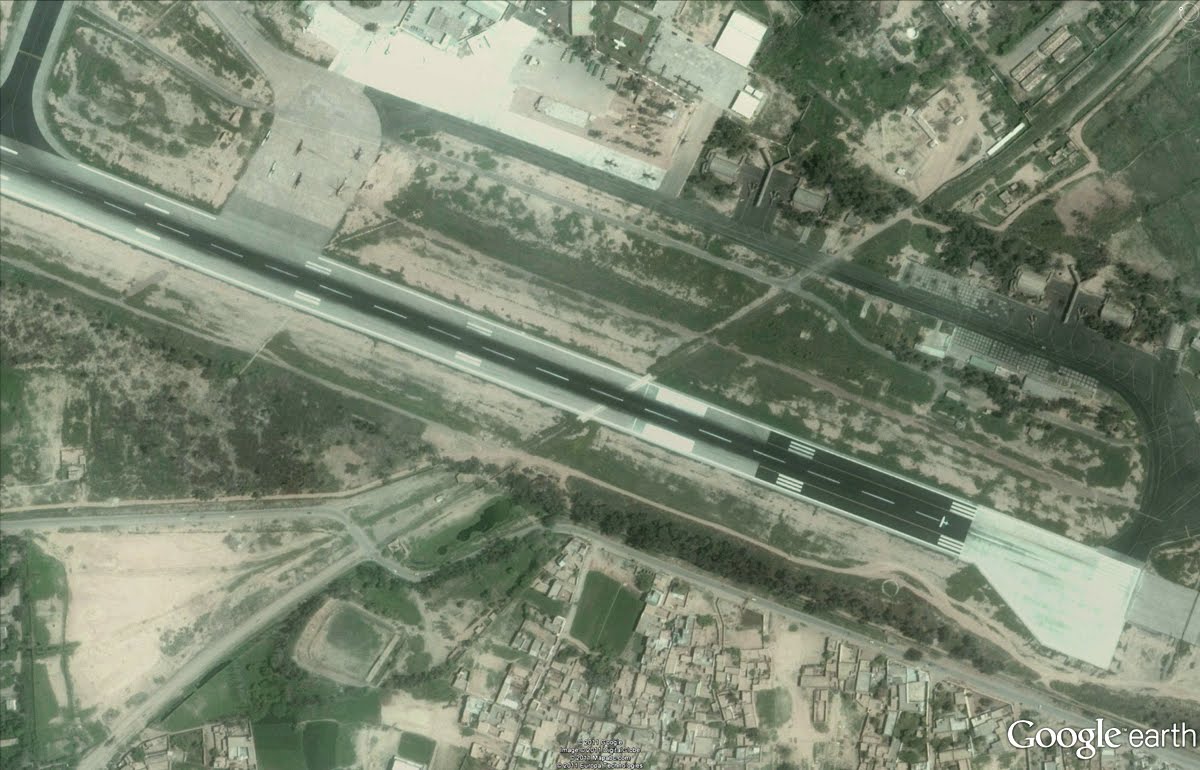
Can you identify the unusual feature relationship seen in the satellite image below? Yes, train tracks cut to the northeast across the airport runway! Those tracks belong to the Kyber Railway, and their two vintage steam locomotives take passengers 42 kilometers to the town of Landi Kotal in Pakistan’s mountainous Kyber Pass.

Peshawar International Airport, Pakistan
Below is a fun water sport activity captured in high resolution aerial imagery of the southeastern coast of Auckland, New Zealand. You can see the kayakers paddles as well as the submerged sandbars and boulders of Thorne Bay.
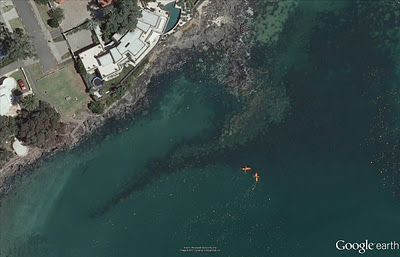
Kayakers in Thorne Bay, New Zealand
We can see the Marmar Palace of Tehran, Iran, a.k.a the Marble Palace in the updated satellite image below. It is associated with the Pahlavi dynasty, and is still used today by the Iranian government.
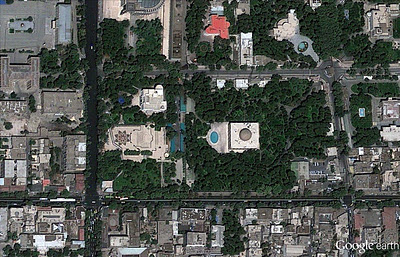
The Marble Palace, Tehran, Iran.
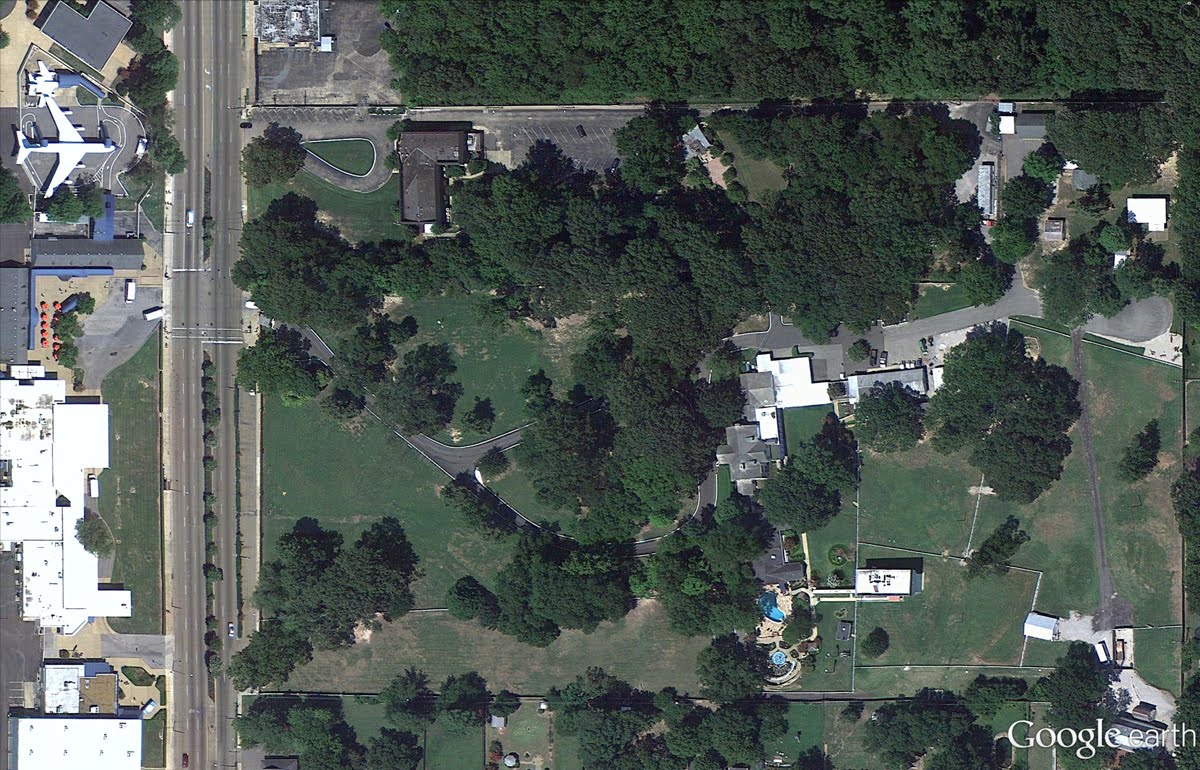
In my opinion, most good things start and end with Elvis references, so our last example showcases updated imagery of Graceland, including the private customized Convair 880 jet Elvis used while hopping across the globe.

Graceland, Memphis Tennessee
If you’d like to receive an email notification when the Earth and Maps Imagery team updates your favorite site(s), we’ve got just the tool: The Follow Your World application!
These are only a few examples of the types of features that can be seen and discovered in our latest batch of published imagery. Happy exploring!
High Resolution Aerial Updates:
USA: Bellingham, WA; Bemidji, MN; Brookings, SD; Davenport, IA; Emporia, KS; Grinnel, IA; Idaho Falls, ID; Klamamth Falls, OR; Lawrence, KS; Lovell, WY; Nephi, UT; Pittsfield, MA; Portland, OR; San Francisco Peninsula, CA; Scottsbluff, NE; Seattle, WA; St Louis, MO; Terre Haute, IN; Wasco, OR; Williston, ND; Wolf Point, MT
Spain: Huesca, Logrono
Countries/Regions receiving High Resolution Satellite Updates:
Angola, Antarctica, Argentina, Australia, Bahrain, Brazil, Cameroon, Canada, Chad, Chile, China, Colombia, Cuba, Côte d’Ivoire, Democratic Republic of the Congo, Ecuador, Ethiopia, Gaza Strip, Greenland, Hungary, India, Indonesia, Iran, Israel, Jan Mayen, Japan, Jordan, Kazakhstan, Latvia, Libya, Lithuania, Malawi, Mexico, Morocco, Mozambique, Namibia, New Zealand, North Korea, Pakistan, Paraguay, Peru, Philippines, Poland, Romania, Russia, Saudi Arabia, Senegal, Slovakia, South Africa, Spain, Svalbard, Taiwan, Tanzania, The Gambia, Turkey, Uganda, Ukraine, United States, West Bank, Yemen, Zambia, Zimbabwe